
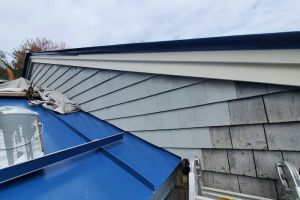
- 1. Understanding Roof Flashing Around Chimneys
- 2. Why Roof Flashing Around Chimneys Gets Damaged
- 3. Tools and Materials You’ll Need for Replacing Flashing
- 4. Step-by-Step Process for Replacing Damaged Roof Flashing
- 5. Safety Tips for Replacing Roof Flashing Around Chimneys
- 6. When to Hire a Professional for Roof Flashing Repairs
1. Understanding Roof Flashing Around Chimneys
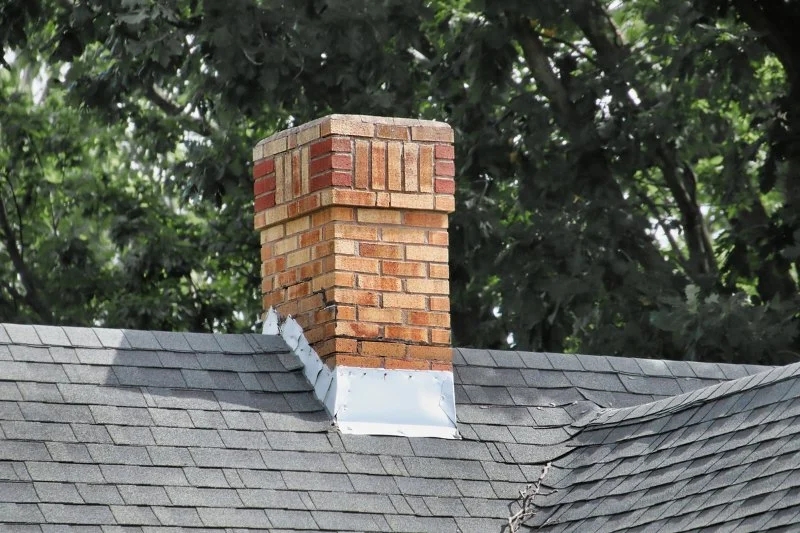
Roof flashing is a critical component in your roofing system, designed to prevent water from seeping into vulnerable areas, particularly around chimneys. The flashing acts as a barrier, directing water away from the joints where the chimney meets the roof, preventing leaks and water damage.
Flashings are typically made from materials such as aluminum, copper, or lead, and they are installed at the base, sides, and top of the chimney. Over time, due to weather conditions and wear, flashing can become damaged, leading to potential leaks and further roofing issues. Understanding how to maintain or replace your chimney flashing is essential to protect your home.

EXTERIORS ASSOCIATES INC. Our 25th YEAR!
SkippackMontgomery CountyPennsylvania
Skippack Pike, Skippack, PA 19474, USA
2. Why Roof Flashing Around Chimneys Gets Damaged
Roof flashing can become damaged due to a variety of reasons, including:
- Age and Wear: Over time, flashing materials can corrode, crack, or become brittle, especially if exposed to harsh weather conditions like heavy rain, snow, or UV radiation.
- Improper Installation: If flashing wasn’t installed correctly, it could cause leaks right from the start. Incorrectly fitted flashing can lead to gaps or areas where water can penetrate.
- Extreme Weather Conditions: High winds, hailstorms, or freeze-thaw cycles can loosen or break down flashing. This is especially problematic for chimneys in areas with freezing temperatures.
- Debris Buildup: Leaves, branches, or other debris can accumulate around the chimney base, forcing water to pool around the flashing, leading to deterioration.
Identifying the cause of your flashing damage is the first step in making a successful repair, as this will inform the materials and techniques needed for replacement.
3. Tools and Materials You’ll Need for Replacing Flashing
To replace damaged flashing around your chimney, you’ll need a few tools and materials to ensure the job is done safely and efficiently:
- Materials: New flashing (aluminum or copper), roofing cement, roof sealant, and galvanized nails or screws.
- Tools: Ladder (for accessing the roof), hammer, roofing nails or screws, caulking gun, utility knife, measuring tape, and a hammer or rubber mallet.
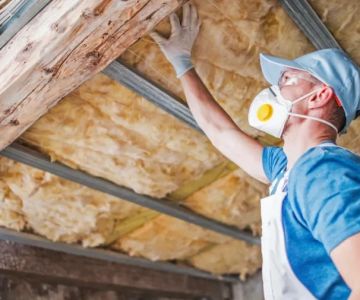
- Safety Equipment: Wear gloves, safety goggles, and non-slip shoes. A harness or rope system may be necessary if you’re working on a steep roof.
Make sure you have all the necessary materials and tools before starting the replacement process to ensure that the job goes smoothly and efficiently.
4. Step-by-Step Process for Replacing Damaged Roof Flashing
Replacing damaged roof flashing around a chimney is a multi-step process that involves removing the old flashing, preparing the area, and installing the new flashing. Here’s a step-by-step guide:
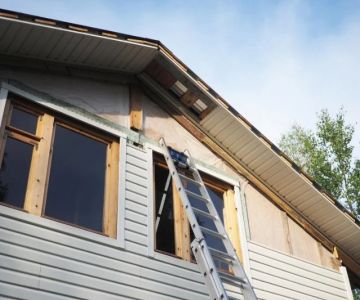
- Step 1: Safety First: Secure your ladder and wear appropriate safety gear. If your roof is steep, consider using a harness for extra security.
- Step 2: Inspect the Area: Before you begin, inspect the flashing and the surrounding roof area for damage. Remove any debris, dirt, or moss that could obstruct the installation of the new flashing.
- Step 3: Remove the Old Flashing: Use a utility knife or pry bar to gently lift the damaged flashing from the roof. Be careful not to damage the surrounding shingles.
- Step 4: Install the New Flashing: Measure and cut the new flashing to fit the dimensions of your chimney. Secure the flashing with roofing nails or screws, making sure the edges are tightly sealed with roofing cement or a strong adhesive sealant to prevent leaks.
- Step 5: Apply Sealant: After the flashing is securely in place, apply roofing cement around the edges to ensure a watertight seal. Use a caulking gun for precision.
- Step 6: Check for Proper Seal: Once the flashing is installed, inspect the area to make sure there are no gaps. Run a bead of sealant around the edges and ensure the flashing fits snugly against the chimney.
Once the new flashing is securely in place, you can rest easy knowing that your chimney is protected from water damage.
5. Safety Tips for Replacing Roof Flashing Around Chimneys
Working on your roof can be dangerous, so it’s important to follow safety precautions to prevent accidents:
- Use Proper Ladder Safety: Ensure your ladder is on a stable surface and always maintain three points of contact when climbing (two hands and one foot or two feet and one hand).
- Work with a Partner: Having someone assist you can make the process safer, especially if you need help holding tools or passing materials.
- Check Weather Conditions: Avoid working on the roof in wet or windy conditions to prevent slipping or accidents.
Taking these safety precautions will help you complete the job without incident and ensure a safe working environment.
6. When to Hire a Professional for Roof Flashing Repairs
Replacing damaged roof flashing requires both skill and experience. If you’re not comfortable working on your roof or if the damage is extensive, it’s best to call a professional roofing contractor. Here are some signs that indicate it’s time to hire a pro:
- Steep Roofs: If your roof has a steep pitch, it may be too dangerous to attempt a DIY repair.
- Extensive Damage: If the damage to the flashing is widespread or if you notice structural issues with the chimney, a professional will have the expertise to make the necessary repairs.
- Lack of Experience: If you’re not familiar with roofing techniques, a contractor can ensure the job is done safely and correctly, preventing future issues.
If you decide to hire a professional, be sure to choose a reputable company like those listed on Total Roofing Hub to ensure a high-quality repair and long-term protection for your home.

 Marc Joseph remodeling5.0 (1 reviews)
 PRS Roofing Inc5.0 (9 reviews)
 KAPS CONSTRUCTION4.0 (5 reviews)
 Marshall Exteriors, LLC4.0 (213 reviews)
 S.W.A.T. Roofing & Consulting4.0 (46 reviews)
 MATFI RENOVATIONS LLC5.0 (23 reviews)
 Siding Material Fire Ratings: What’s Required & What to Choose
 Roof Talk: Common Terminology Every Homeowner Should Know
 How Often Should You Replace Your Home's Siding? Expert Tips on Siding Longevity
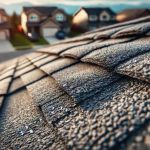 The Average Lifespan of Asphalt Shingle Roofs: How Long Do They Last?
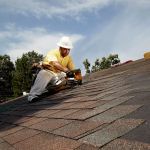 How to Choose a Reliable Roofing Contractor Near You | Top Tips and Questions
 Should I Repair or Replace My Roof? – Expert Guide for U.S. Homeowners