
Roof Starter Strip: Edge Signs Homeowners Can Check Safely
Table of contents
Quick answer
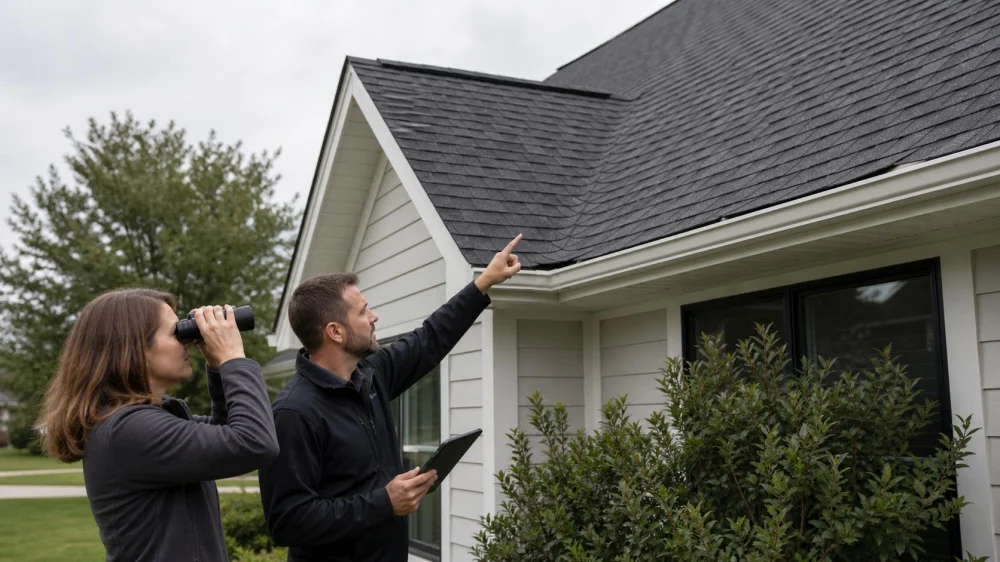
A roof starter strip is the first course installed at eaves and, for many systems, rake edges. It helps seal and secure the first visible shingles against wind and directs the edge layout. Homeowners should not lift shingles to look for it. Use ground photos to document raised tabs, uneven overhang, exposed underlayment, or missing edge pieces, then ask a qualified roofer to compare the installation with the shingle manufacturer’s instructions.
What a starter strip does
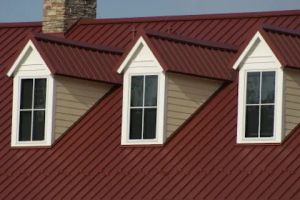
Starter products typically provide an adhesive seal and fastening zone beneath the first field-shingle course. They help cover joints, establish alignment, and improve resistance to wind uplift at vulnerable roof edges. Some are purpose-made strips, while certain approved systems allow specifically prepared shingles. Requirements for eaves, rakes, drip edge sequence, fastener location, overhang, and compatible materials vary by product and local code.
Cowboy Monkeys Roofing
East BernardWharton CountyTexas
414 Old Wharton Rd, East Bernard, TX 77435, USA
Ground-level warning signs
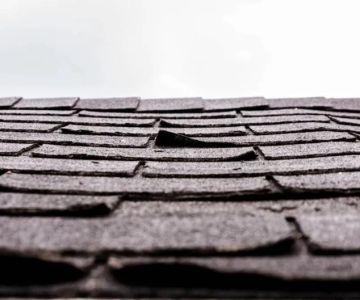
- The first visible shingle course lifts or flutters differently from the courses above.
- Tabs or edges look uneven, wavy, short, or excessively overhanging.
- Underlayment or bare decking appears at an eave or rake.
- Shingle joints align in a way that leaves an open path at the edge.
- Loose pieces, sealant strips, or granules appear below one roof edge.
- Water staining develops on fascia, soffit, or the wall below.
These clues do not prove the starter is missing; drip edge, decking, fastening, seal activation, or later damage can create similar signs.
Checks after wind or a storm
Wait until conditions are safe, then inspect from firm ground with binoculars or camera zoom. Photograph each eave and rake, focusing on corners and windward sides. Note wind direction, storm date, fallen debris, interior moisture, and whether the edge appearance is new. Do not pull a loose shingle, climb a ladder, or place a temporary tarp from the roof. Keep people away from material that could fall.
Why edge repairs need care
Nailing through the exposed shingle surface, applying general-purpose caulk, or pushing a lifted edge down may conceal improper fastening, split material, trap water, or interfere with the intended seal. Edge work is also a high fall-risk task. A roofer may need to lift or replace shingles, verify starter type and orientation, inspect drip edge and decking, place approved fasteners, and follow temperature and sealing requirements.
When to call a roofer
Arrange inspection for repeated edge lifting, storm displacement, exposed underlayment, loose metal, active leakage, missing sections, or a new roof whose first course appears inconsistent. Seek urgent help for falling material, a roof opening, interior water near electricity, or significant storm damage. Ask the roofer to cite the applicable manufacturer detail, describe wind-related evidence, and separate installation defects from later damage.
Inspection checklist
Collect roof age, shingle brand and product, installer and warranty records, permits if applicable, pre-storm photos, storm date and direction, ground photos of each edge, interior observations, and prior repairs. Request written findings for starter product, eave and rake coverage, fastening, adhesion, drip edge sequence, overhang, damaged materials, repair scope, and warranty or insurance implications.
Limits and safety notes
This general U.S. guidance cannot confirm starter-strip installation from the ground. Do not lift shingles, walk on the roof, climb in wind or wet conditions, hammer exposed fasteners, or apply improvised adhesive. Edge details vary by shingle system, roof slope, climate zone, and jurisdiction. Manufacturer installation instructions, adopted building code, permit requirements, insurer procedures, and qualified on-site findings control the repair.
Evidence notes
The strongest installation evidence is the exact shingle and starter manufacturer documentation, project records, and a safe professional inspection of the edge assembly. Photos showing a change before and after a storm help with timing, while close contractor photos can document product, fasteners, seal position, drip edge, and substrate. A lifted first course is evidence of a problem, but not proof of one specific cause.
Frequently asked questions
Can I see the starter strip from the ground?
Usually it is covered by the first shingle course, so indirect edge signs are more visible than the strip itself.
Is drip edge the same as starter strip?
No. Drip edge is typically metal flashing; starter strip is part of the shingle-course system.
Does every roof use the same starter product?
No. Approved materials and placement depend on the roof-covering manufacturer and applicable code.
Can a starter strip prevent all wind damage?
No. It contributes to edge performance, but design, fastening, adhesion, installation, exposure, and roof condition all matter.
Should a roofer hand-seal lifted edge shingles?
Only when the product instructions and actual condition support that repair. Damaged or incorrectly installed materials may need replacement.
Next steps
Photograph eaves and rakes from safe ground, note weather and interior signs, gather product and warranty records, and avoid touching lifted material. Schedule a qualified roof inspection for exposed, uneven, missing, or repeatedly lifted edges. Ask for written comparison with the exact manufacturer detail and a repair plan covering starter, shingles, fasteners, drip edge, and substrate.
 VEVA Roofing and Construction5.0 (28 reviews)
 Yuras Roofing Company4.0 (145 reviews)
 Restoration Builders of California5.0 (15 reviews)
 Triple Pine Roofing5.0 (112 reviews)
 Lewis Roofing4.0 (450 reviews)
 Shadowcrest Roofing Inc5.0 (24 reviews)
 What’s the Best Time of Year to Replace Your Roof in the U.S.?
 Top 10 Signs Your Roof Needs Immediate Repair: Don't Ignore These Warning Signs
 The Benefits of Professional Roof Cleaning Services for Homeowners
 How to Choose Roof Material Based on Snow Load
 How to Choose a Reliable Roofing Contractor Near You with Confidence
 How to Know If Your Roof Has Poor Ventilation Problems