
- storm-damage-roof-insurance-claim-process - Step-by-step filing workflow and expectations
- documenting-roof-damage-after-storm - What insurers require as proof
- insurance-adjuster-roof-inspection - What happens during inspection
- avoiding-roof-claim-denial - Common mistakes that lead to rejection
- choosing-roof-repair-contractors-after-storm - Getting repairs approved and started
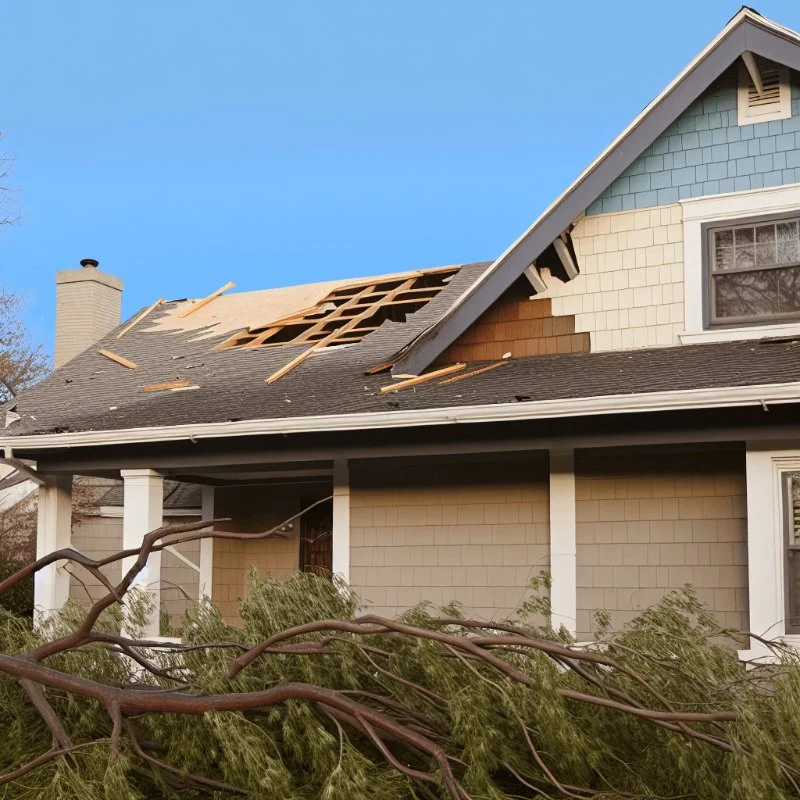
When a Storm Hits Your Roof: Understanding What Actually Happens First
A severe storm rarely gives warning, and when it passes, roof damage is often not immediately obvious. Homeowners usually notice missing shingles, leaks, or ceiling stains only hours or days later. At that point, the process of a roof storm damage insurance claim begins—but what many people don’t realize is that the first 24–48 hours are critical for documentation and decision-making.
One real-world example comes from a homeowner in Texas who experienced hail damage during a spring storm. At first glance, the roof looked intact, but subtle bruising on shingles later led to significant leakage. Because the homeowner took immediate photos and contacted their insurer quickly, the claim was approved without dispute. This kind of timing can dramatically influence outcomes.
Step 1: Identifying and Documenting Roof Storm Damage Properly
Understanding What Counts as Valid Storm Damage
Not all visible roof changes qualify for compensation. Insurance providers typically look for specific signs such as hail impact marks, lifted shingles caused by wind, punctures, or water intrusion points. Understanding these details helps avoid weak claims that may be delayed or denied.
Mancilla Roofing & Construction
6985 McCurley Rd, Acworth, GA 30102, USA
Creating Strong Visual Evidence Before Cleanup
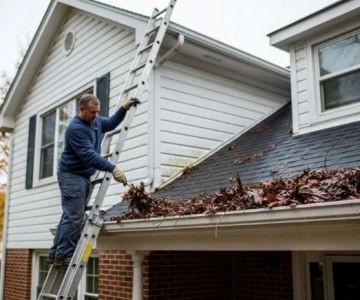
Before any repairs or temporary fixes begin, detailed documentation is essential. This includes wide-angle roof photos, close-ups of damaged areas, interior ceiling stains, and even surrounding property damage such as fallen branches or debris impact points.
In many cases, homeowners underestimate how important this stage is. Insurance adjusters rely heavily on “before repair” visuals. Without them, proving storm-related cause becomes significantly more difficult.
Step 2: Filing the Insurance Claim Without Delays or Mistakes
How to Start the Filing Process Correctly
The filing process usually begins by contacting your insurance provider and reporting the damage. This triggers a claim number and initiates the formal evaluation process. At this stage, clarity matters—vague descriptions can slow down approval.
A helpful approach is to describe what happened in chronological order: when the storm occurred, when damage was discovered, and what visible effects were observed.
Why Timing Matters More Than Most Homeowners Realize
Insurance companies often operate under strict reporting windows. Delays can raise suspicion or complicate verification. Filing quickly helps establish credibility and ensures faster scheduling of an inspection.
This is where many claims unintentionally weaken—not due to lack of damage, but due to delayed reporting or incomplete early documentation.
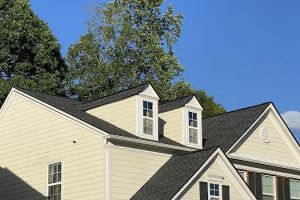
Step 3: Working With the Insurance Adjuster During Inspection
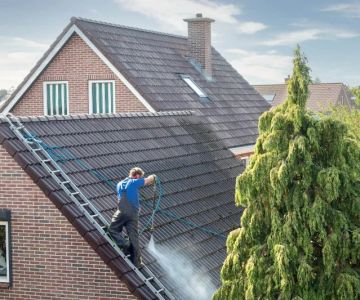
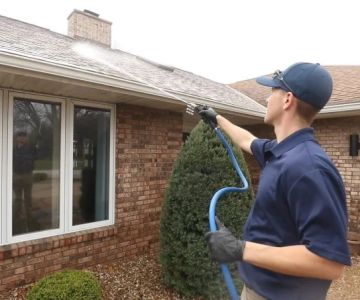
What Happens During a Roof Inspection Visit
An insurance adjuster evaluates the roof in person or through drone-assisted imaging. They examine shingle condition, flashing integrity, gutters, and any signs of storm impact patterns.
Their report determines whether the damage qualifies under your policy coverage. This makes their inspection one of the most important moments in the entire claim process.
How Homeowners Can Strengthen Their Position
Homeowners are encouraged to be present during inspections whenever possible. Providing pre-storm photos, pointing out leak locations, and explaining observed changes can help the adjuster understand the full scope of damage.
In one case in Florida, a homeowner successfully secured full roof replacement coverage after providing time-stamped photos taken before and after a hurricane. Without those images, the claim would likely have been partially denied.
Step 4: Avoiding Common Mistakes That Lead to Claim Denials
Unintentional Errors That Weaken Claims
Many denials are not due to lack of damage but due to preventable mistakes. These include repairing damage before inspection, missing documentation, or failing to show clear storm causation.
Another frequent issue is misunderstanding policy language. Some homeowners assume all roof damage is covered, but policies often distinguish between wear-and-tear and sudden storm-related events.
Why Temporary Fixes Must Be Handled Carefully
While it’s important to prevent further damage, temporary repairs should be documented carefully. For example, covering a leak with a tarp is acceptable, but it should be photographed before and after placement to preserve evidence.
Without documentation, insurers may argue that original damage conditions cannot be verified.
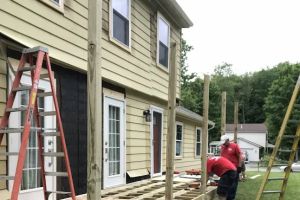
Step 5: Approving Repairs and Moving Toward Restoration
Understanding the Settlement Process
Once the claim is approved, the insurer issues a settlement based on repair estimates. This may include partial or full roof replacement depending on damage severity and policy terms.
Homeowners often choose licensed roofing professionals who can align repair estimates with insurance requirements, reducing delays in approval of final work.
Choosing the Right Roofing Support After Storm Damage
Selecting experienced contractors is essential to ensure repairs meet building standards and insurer expectations. Platforms like Total Roofing Hub can help homeowners connect with qualified roofing professionals who understand insurance-approved repair workflows.
This connection often reduces back-and-forth communication between contractors and insurers, streamlining the entire restoration process.
Real-Life Insight: When Proper Filing Changed the Outcome
A homeowner in Louisiana once experienced severe roof damage after a tropical storm. Initially overwhelmed, they almost delayed filing. However, after documenting everything carefully and submitting a structured claim within 48 hours, the insurance company approved full roof replacement.
Interestingly, a neighboring property that delayed documentation faced partial denial due to insufficient evidence. This comparison highlights how critical the filing process truly is—not just the damage itself.
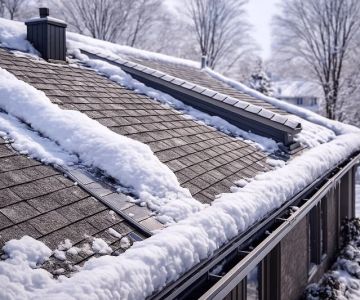
Strengthening Future Protection Against Storm Damage
Routine Roof Inspections as Preventive Strategy
Regular roof inspections before storm seasons can significantly improve claim outcomes. Pre-storm documentation serves as a baseline for comparison, making post-storm assessments more accurate.
Understanding Policy Coverage Before Damage Occurs
Many homeowners only read their insurance policies after damage happens. However, understanding deductibles, exclusions, and replacement terms ahead of time ensures fewer surprises during claims.
Being proactive not only improves financial protection but also reduces stress when emergencies occur.


 Celtic Metal Roofing4.0 (55 reviews)
 Ramos Roofing & Gutters4.0 (62 reviews)
 Universal Trade Builders5.0 (1 reviews)
 R&B Roofing and Remodeling4.0 (82 reviews)
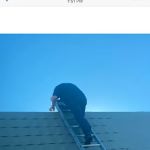 Wilson Pacific Roofing3.0 (5 reviews)
 Davis & Sons Roofing & Construction4.0 (68 reviews)
 The Latest Roofing Material Innovations in Polymer & Composite Technologies
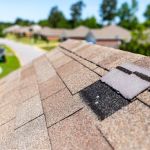 How to Protect Your Roof from Structural Damage
 The Pros and Cons of Vinyl Siding for Your Home
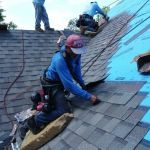 How Long Does a Roof Replacement Take from Start to Finish?
 How to Match Roof Shingles with Your Siding Color
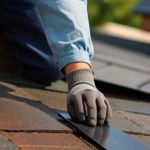 How to Maintain Roof Durability Over Time | Total Roofing Hub