
What to Expect During a Roof Insurance Inspection
- Preparing for Your Roof Insurance Inspection
- The Roof Insurance Inspection Process
- Common Roof Issues Identified During an Inspection
- What Happens After the Roof Inspection
- Tips for a Successful Roof Insurance Claim
Preparing for Your Roof Insurance Inspection
When you schedule a roof insurance inspection, preparation is key. A well-prepared inspection can ensure a smooth process and help maximize your claim outcome. Here’s how to prepare for a roof insurance inspection:

Good News Carpentry and Remodel
OttoMacon CountyNorth Carolina
531 Hidden Hollow Ln, Otto, NC 28763, USA
1. Gather Relevant Documents
Make sure you have your homeowner’s insurance policy and any relevant repair or maintenance records handy. These documents can help clarify the scope of coverage and ensure the inspector has all the information they need.
2. Clear the Roof Access
If you have trees, debris, or any obstacles blocking the roof access, remove them beforehand. A clear path helps the inspector conduct a thorough inspection.
3. Document the Roof’s Current Condition
Before the inspection, take photos of any visible damage or areas of concern. This can help you compare with the inspector’s findings and provide evidence in case of disputes with your insurance provider.
The Roof Insurance Inspection Process
The roof insurance inspection process typically follows these steps:
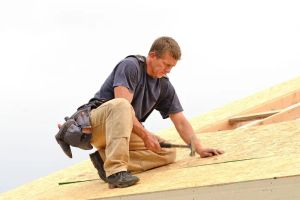
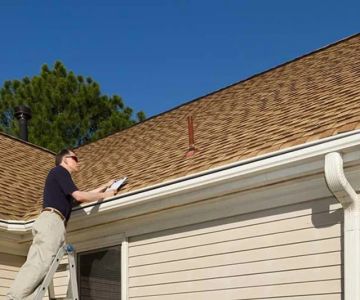
1. Initial Assessment
The inspector will begin by assessing the overall condition of your roof. They’ll look for signs of wear, damage, or areas that could potentially lead to issues down the road.
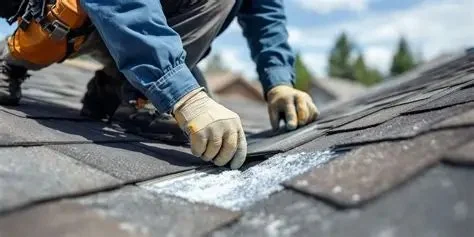
2. Detailed Inspection of Roof Features
During the inspection, the inspector will focus on various elements of your roof, such as shingles, flashing, gutters, vents, and chimneys. They’ll be looking for issues like cracks, leaks, or missing shingles that could be a sign of damage.
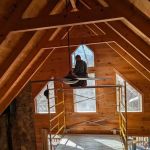
3. Roof Interior Check
In some cases, the inspector may also need to check the roof's interior. This includes inspecting the attic and ceiling for signs of leaks or water damage that could indicate roof issues.
Common Roof Issues Identified During an Inspection
Several issues are commonly identified during a roof insurance inspection. Understanding these problems can help you prepare for the inspector’s findings:
1. Roof Leaks
One of the most common issues discovered during an inspection is roof leaks. Leaks can be caused by damaged flashing, cracked shingles, or blocked gutters, and they can lead to significant water damage inside your home.
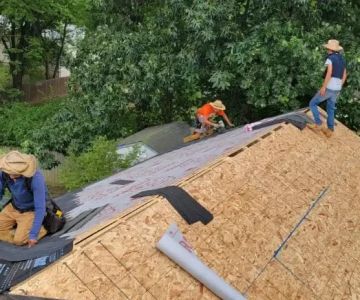
2. Missing or Damaged Shingles
Shingles that are missing, cracked, or curling are a major red flag. They can allow water to seep under the roof, leading to further damage. The inspector will note any areas of concern regarding shingle condition.
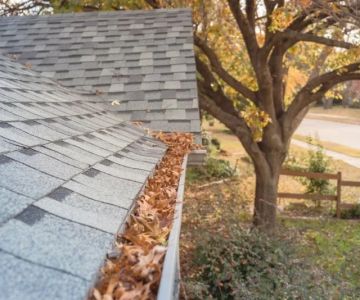
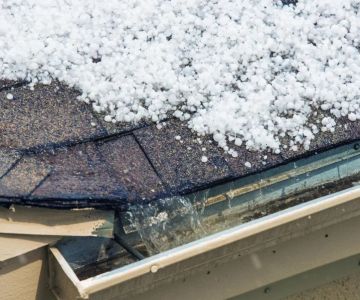
3. Clogged Gutters
Clogged gutters can cause water to pool on the roof, leading to damage. If your gutters haven’t been regularly cleaned, this might be noted as a maintenance issue affecting the roof's integrity.
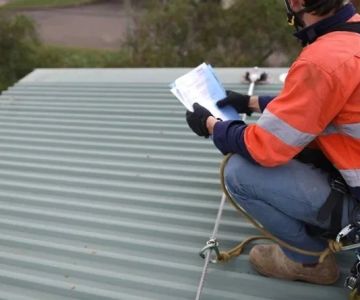
What Happens After the Roof Inspection
Once the inspection is complete, the inspector will prepare a detailed report of their findings. This report will include information about any roof damage, the estimated repair costs, and the overall condition of the roof.
1. Review the Inspector’s Report
After receiving the inspection report, review it carefully. If there’s any damage noted that you were unaware of, ensure it’s accurately reflected. You can use this report to support your claim to the insurance company.
2. Submit the Report to Your Insurance Provider
Once you have the report, submit it to your insurance provider along with any photos or documentation you’ve collected. This will help expedite your claim process.
3. Work with the Adjuster
The insurance adjuster will review the report and may visit your property to inspect the roof further. After this, they will determine what repairs are covered under your policy.
Tips for a Successful Roof Insurance Claim
To ensure a successful roof insurance claim, follow these tips:
1. Be Detailed and Accurate
Provide accurate and detailed information about the damage, including specific areas of concern, photos, and a clear description of the issue. This helps prevent delays in processing your claim.
2. Keep Track of All Correspondence
Make sure to keep track of all communications with your insurance provider and the roofing inspector. Document everything in case you need to reference it later.
3. Be Patient
Insurance claims can take time. Be patient and follow up with your insurance provider regularly to ensure the claim is processed smoothly.

 CRS Windows4.0 (7 reviews)
 Quality Essential Renovations, LLC3.0 (19 reviews)
 Advance Inc - Roofing Windows Siding Doors & Decks4.0 (273 reviews)
 Safe Top Roofing & Remodeling4.0 (81 reviews)
 Ruff Roofing Inc.3.0 (12 reviews)
 ABC Supply Co. Inc.4.0 (13 reviews)
 Top 10 Signs Your Roof Needs Immediate Repair: Keep Your Home Safe
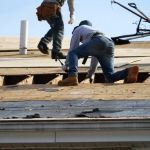 How to Budget for a Roof Replacement Project – Roofing Costs and Tips
 The Pros and Cons of Vinyl Siding for Homeowners
 Siding Upgrade Ideas That Don’t Break the Bank
 How to Protect Your Roof from Environmental Wear: Expert Tips for Longevity
 How Much Does a New Roof Cost in 2025? A Complete Guide