
- 1 - #why-roof-preparation-is-crucial-for-solar-panels
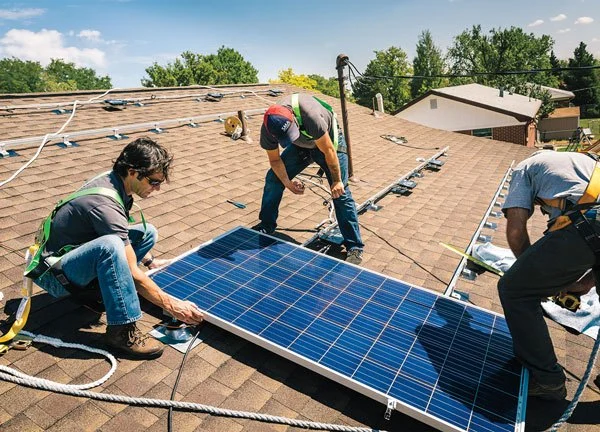
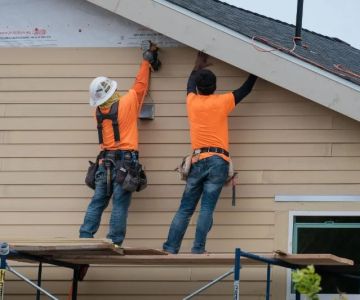
- 2 - #steps-to-prepare-your-roof-for-solar-panel-installation
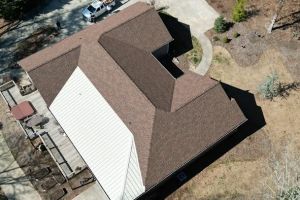
- 3 - #roof-inspection-and-repair-for-solar-installation
- 4 - #choosing-the-right-roof-materials-for-solar-panels
- 5 - #maintaining-your-roof-after-solar-panel-installation
1 - Why Roof Preparation is Crucial for Solar Panels
Installing solar panels on your roof is an excellent way to reduce energy costs and support sustainable energy. However, before proceeding with the installation, ensuring that your roof is in optimal condition is essential. Proper roof preparation not only maximizes the efficiency of your solar panels but also prolongs their lifespan.
Many homeowners overlook the importance of roof maintenance before solar panel installation, but without the right preparation, you may face costly repairs and inefficiencies later. In this article, we’ll explore the key steps to prepare your roof, from inspection and repairs to choosing the right materials for installation.
2 - Steps to Prepare Your Roof for Solar Panel Installation
To ensure a seamless and long-lasting solar panel installation, follow these essential roof preparation steps:
Pro Star Roofing
6942 Farm to Market 1960 Rd E PMB 415, Humble, TX 77346, USA
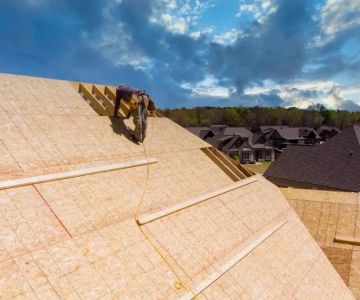
Step 1: Inspect Your Roof’s Condition
Before installing solar panels, it’s vital to inspect your roof for any signs of damage or wear. Roofs that are in poor condition may not be able to handle the weight and pressure of solar panels. Look for missing shingles, leaks, and areas of water damage.
It’s advisable to hire a professional roofing contractor to assess the roof’s integrity. If your roof is over 20 years old or has significant wear, you may need to replace it before installing solar panels.
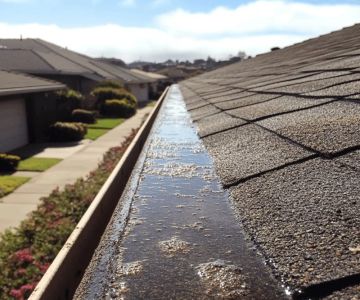
Step 2: Clean Your Roof
A clean roof ensures that your solar panels are installed properly and function at peak efficiency. Remove any debris, leaves, and dirt from the roof. Additionally, make sure the gutters are cleared to prevent water buildup.
A clean roof will also prevent any potential obstructions during installation and ensure the panels have adequate space to receive sunlight.
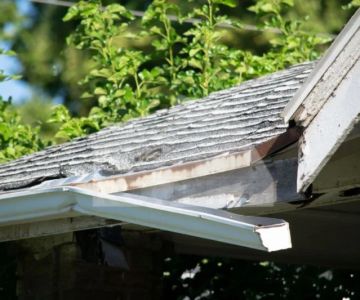
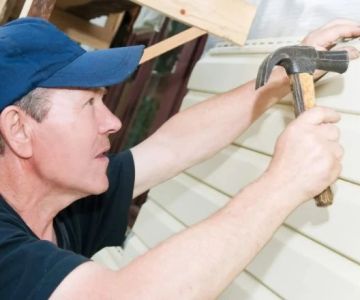
Step 3: Repair Any Damages
Any issues identified during the roof inspection, such as damaged shingles, cracked tiles, or leaks, should be repaired before proceeding with the installation. Failing to address these issues could result in long-term damage to your roof and solar system.
3 - Roof Inspection and Repair for Solar Installation
A thorough roof inspection is a crucial step in preparing for solar panel installation. This will help ensure that the roof is structurally sound and capable of supporting the solar panels.
During the inspection, a professional roofing contractor will look for common issues such as:
1. Structural Integrity
The roof’s structure should be able to bear the weight of the solar panels. If there are any signs of sagging or instability, repairs may be needed before installation.
2. Leak Repairs
Leaks can damage the solar panels and reduce their effectiveness. Ensure that all leaks are sealed before installation.
3. Roof Age
Older roofs may not be suitable for solar installation due to their condition. If your roof is near the end of its lifespan, consider replacing it before adding solar panels.
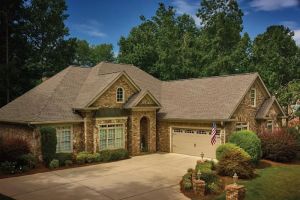
4 - Choosing the Right Roof Materials for Solar Panels
Not all roof materials are equally suited for solar panel installation. Some materials offer better durability and efficiency for solar systems. Here are some roof types commonly used for solar panel installations:
1. Asphalt Shingles
Asphalt shingles are one of the most common roofing materials and are well-suited for solar panel installation. They are durable, affordable, and relatively easy to work with.
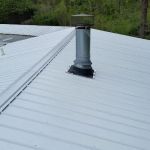
2. Metal Roofs
Metal roofs are ideal for solar panels because of their longevity and durability. They also allow for easier mounting of the solar panels and can withstand harsh weather conditions.
3. Tile Roofs
Tile roofs can also be suitable for solar panels, but they may require additional work during installation. The panels need to be securely mounted to the roof, and in some cases, the tiles may need to be replaced or reinforced.
5 - Maintaining Your Roof After Solar Panel Installation
After installing solar panels, it’s essential to continue maintaining your roof to ensure its long-term health and the efficiency of the solar system.
1. Regular Inspections
Regularly inspect the roof for any signs of damage, leaks, or wear. Ensure that your solar panels are securely attached and that no obstructions are blocking the sunlight.
2. Gutter Maintenance
Keep the gutters clean and free of debris to prevent water from accumulating and causing damage to the roof or the solar panels.
Proper roof maintenance after installation will ensure your solar panels remain functional and your roof stays in top condition for years to come.
For more information on roof preparation for solar panels, visit Total Roofing Hub, where we offer roofing services and solar solutions.

 Advanced Property Services5.0 (1 reviews)
 Romeros Quality Construction Llc5.0 (22 reviews)
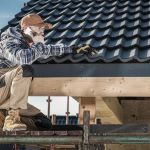 Reliable Roofing5.0 (5 reviews)
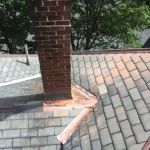 Hawkins Roofing4.0 (1 reviews)
 RCUSA - Roofing & Construction4.0 (45 reviews)
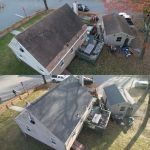 Morris County Roofing and Siding, LLC5.0 (49 reviews)
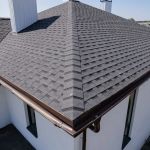 How Much Does a New Roof Cost in 2025?
 Siding Patterns & Layout Trends That Resonate with Buyers
 Siding Consumer Trends: What Homeowners Are Searching in 2025
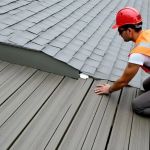 What to Expect During a Roof Inspection: A Homeowner's Guide
 Siding Repair After Fire or Smoke Damage
 The Complete Guide to Metal Roofing Systems for Long-lasting Protection